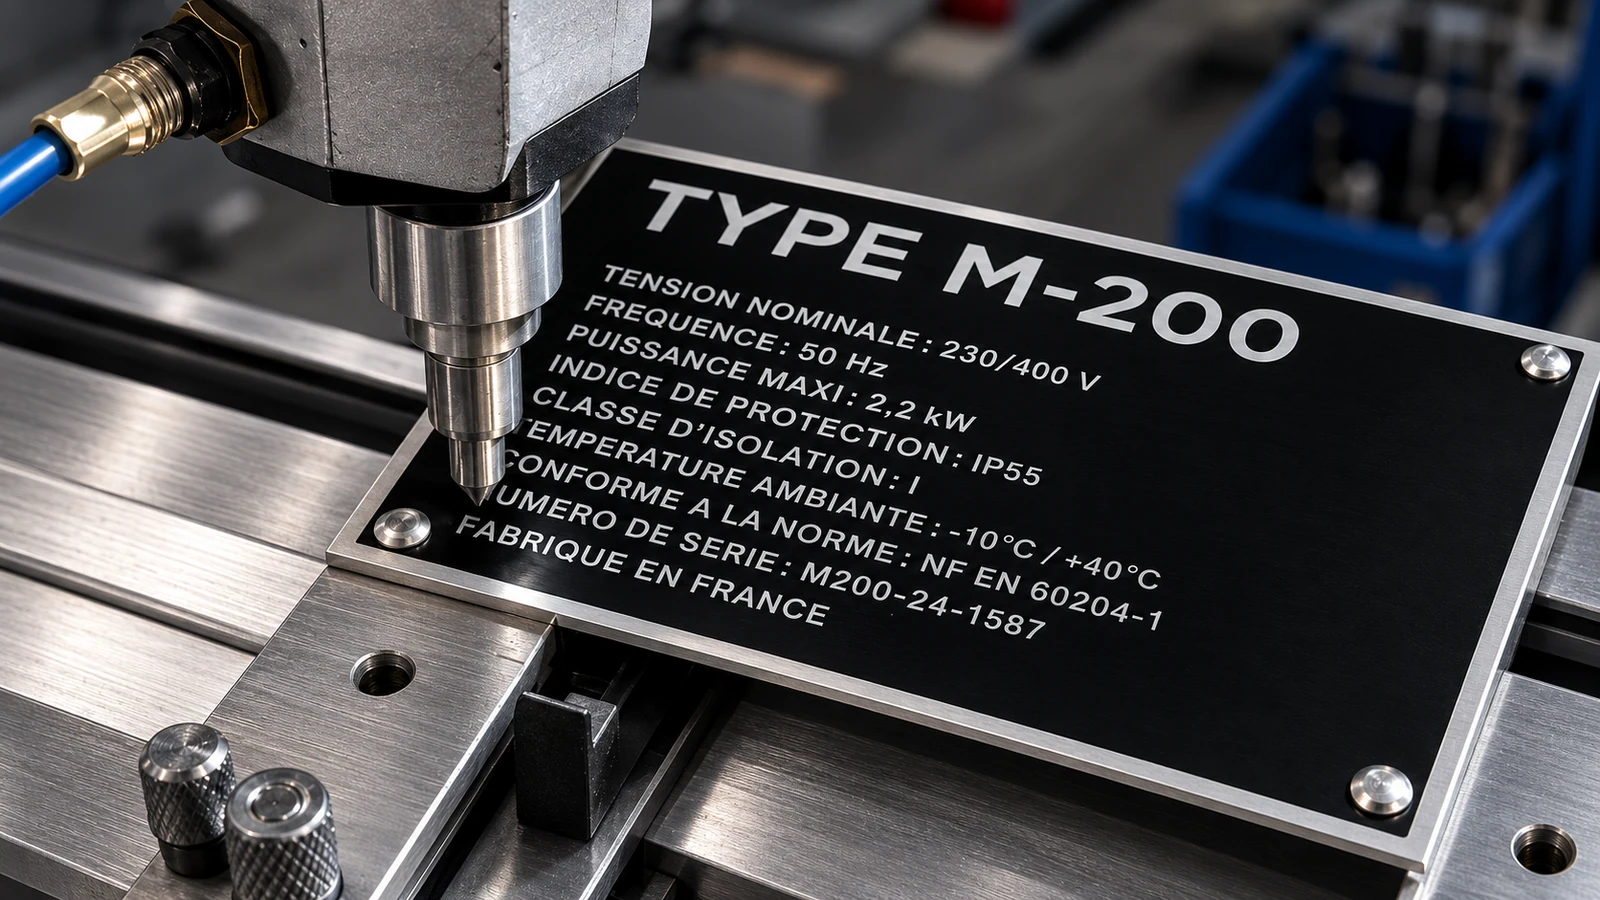
Prepare the artwork
Confirm vector artwork, dimensions, colour references and separations. Review small type, fine lines and reversed details.
From the first layer of ink to the last rivet. Turn your design into a nameplate that fits the equipment.
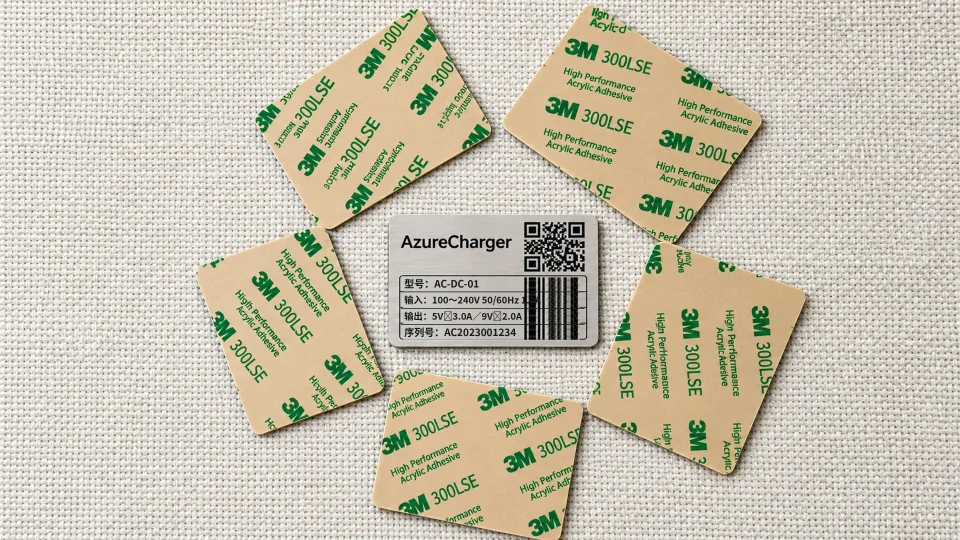
Ten mounting options with practical uses, installation steps and selection notes. Start with the mounting surface.
A clean finish without drilling. Match the tape to the substrate, coating and service environment.
Tape grade, coating, temperature and load direction.
Clean and dry the surface; check cleaner compatibility with the finish.
Align, remove the liner and apply even pressure without repeated repositioning.
Allow bond build-up time according to the selected tape before use.
Images illustrate mounting methods. Select actual tapes, fixings, dimensions and environmental suitability against the agreed materials and drawing.
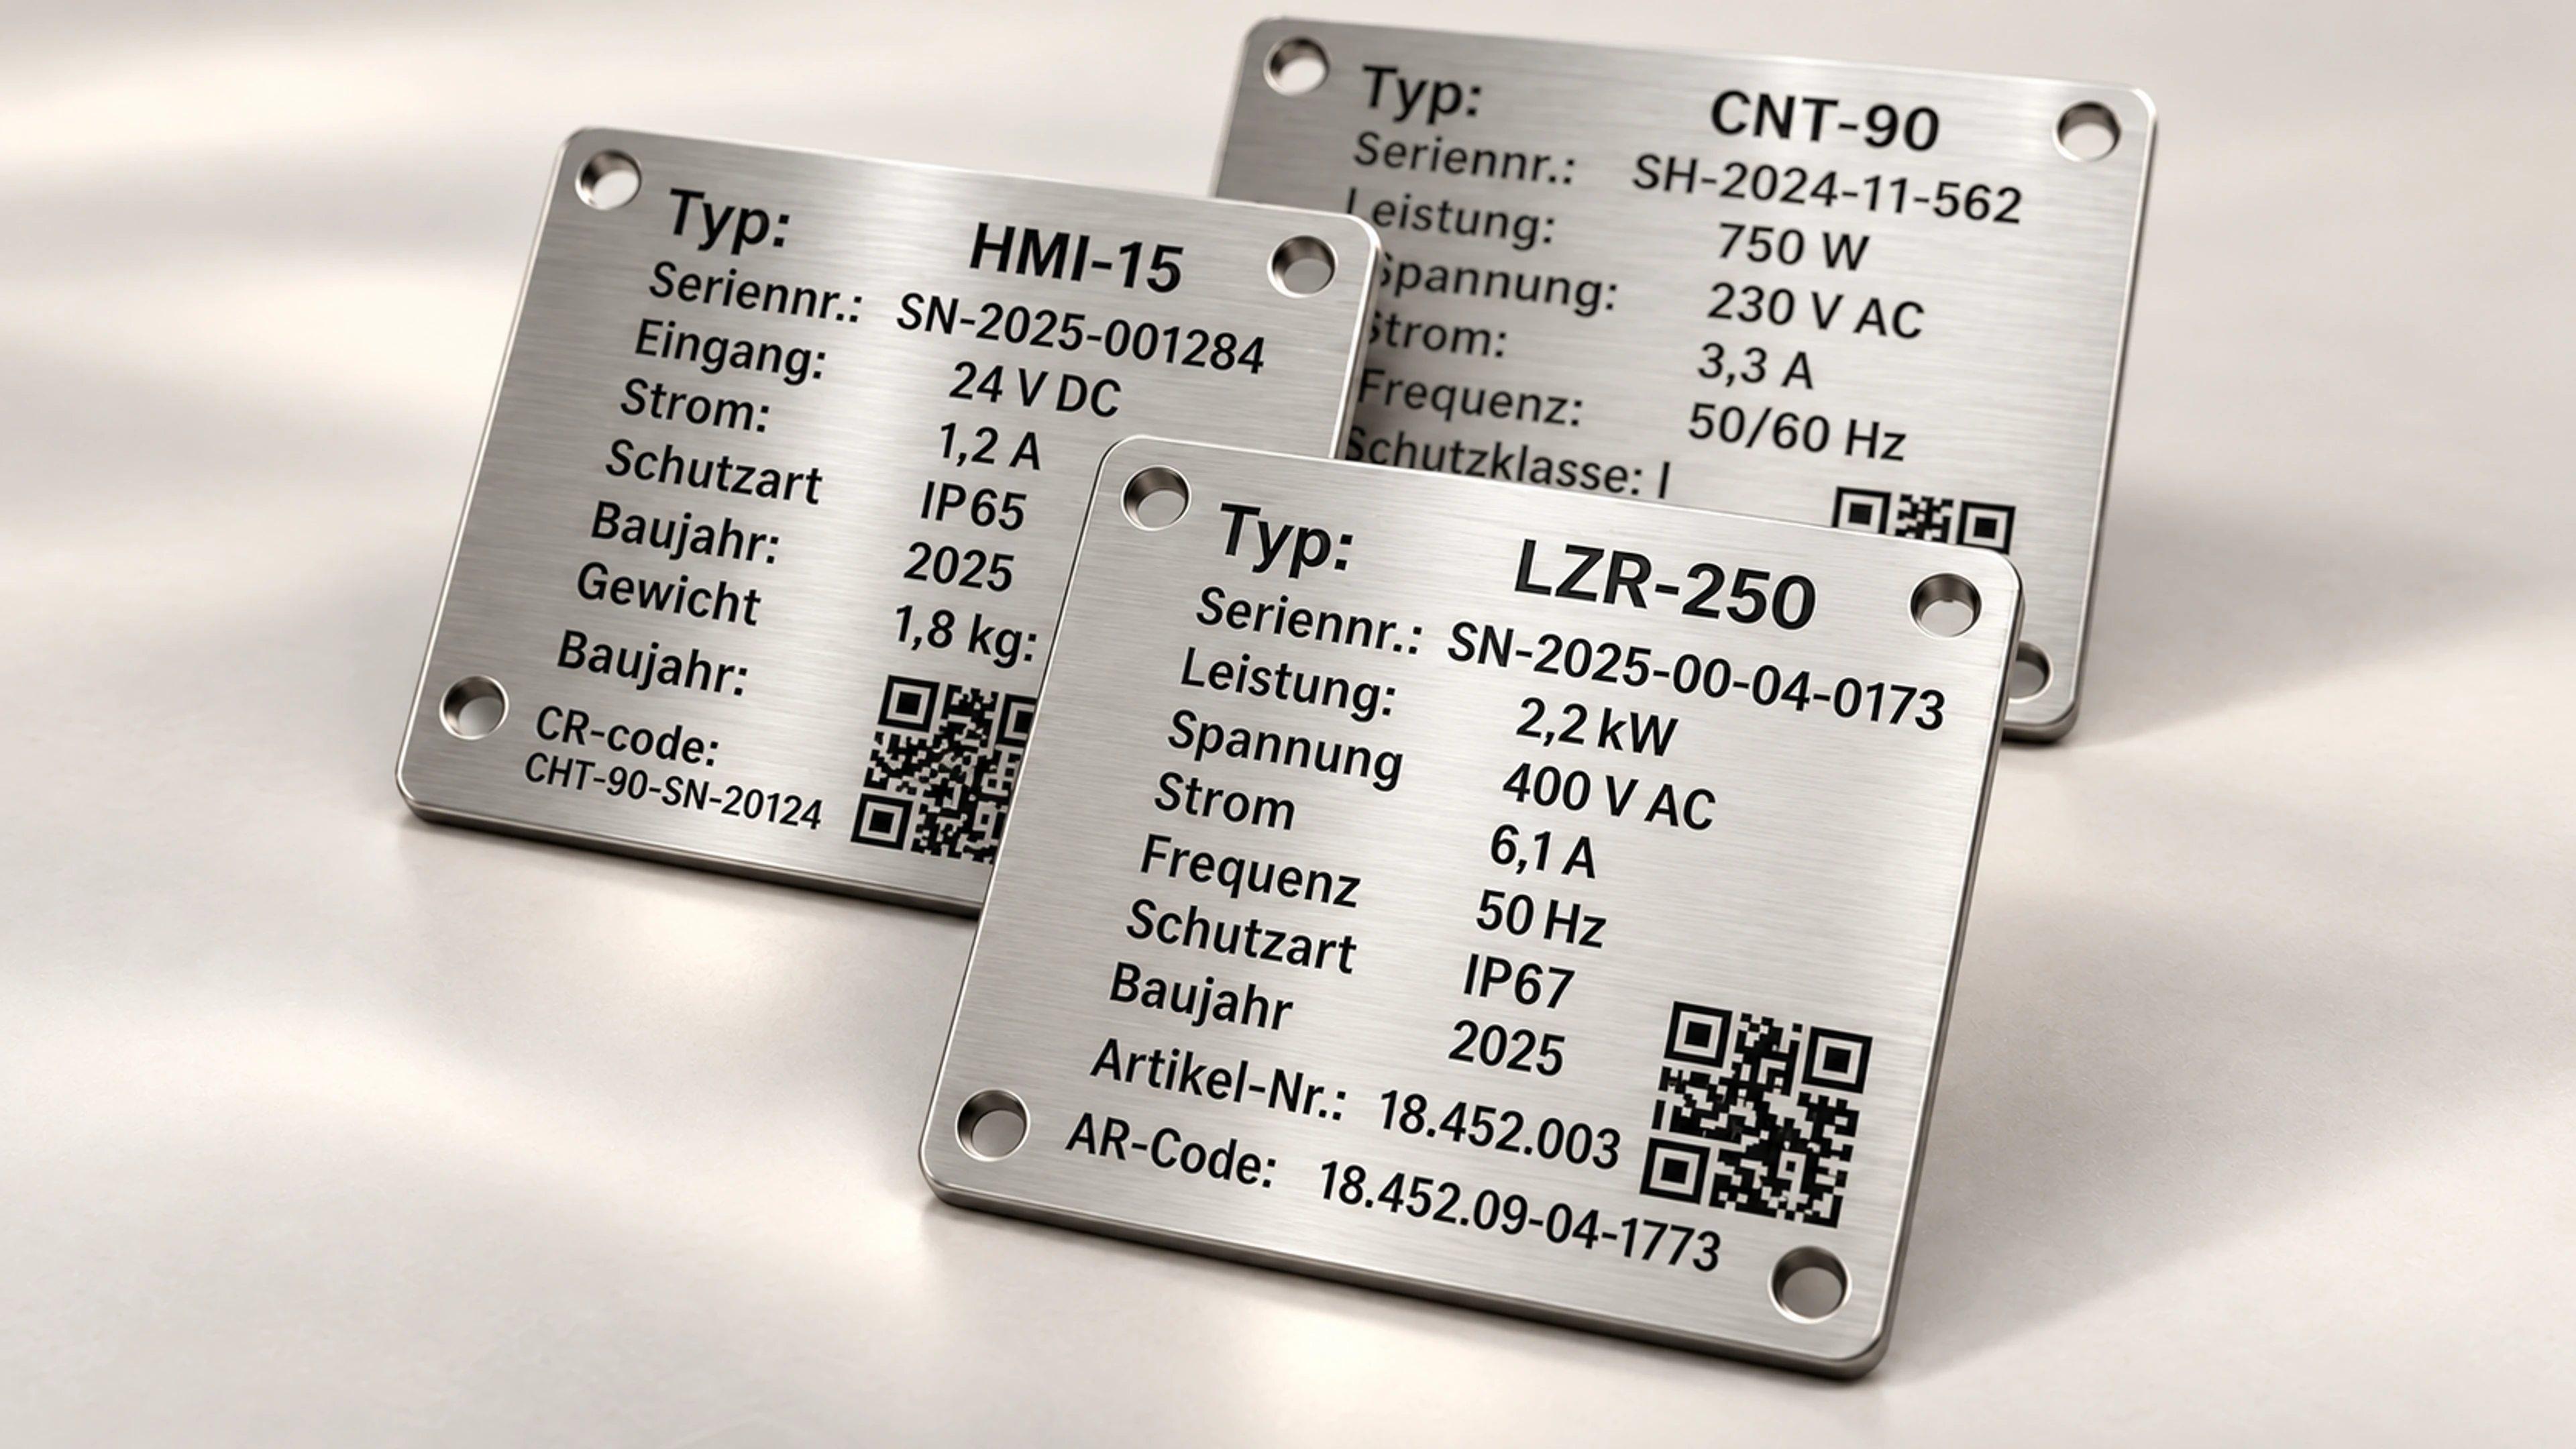
Bring brand colours, operating instructions and system diagrams together on one metal panel.
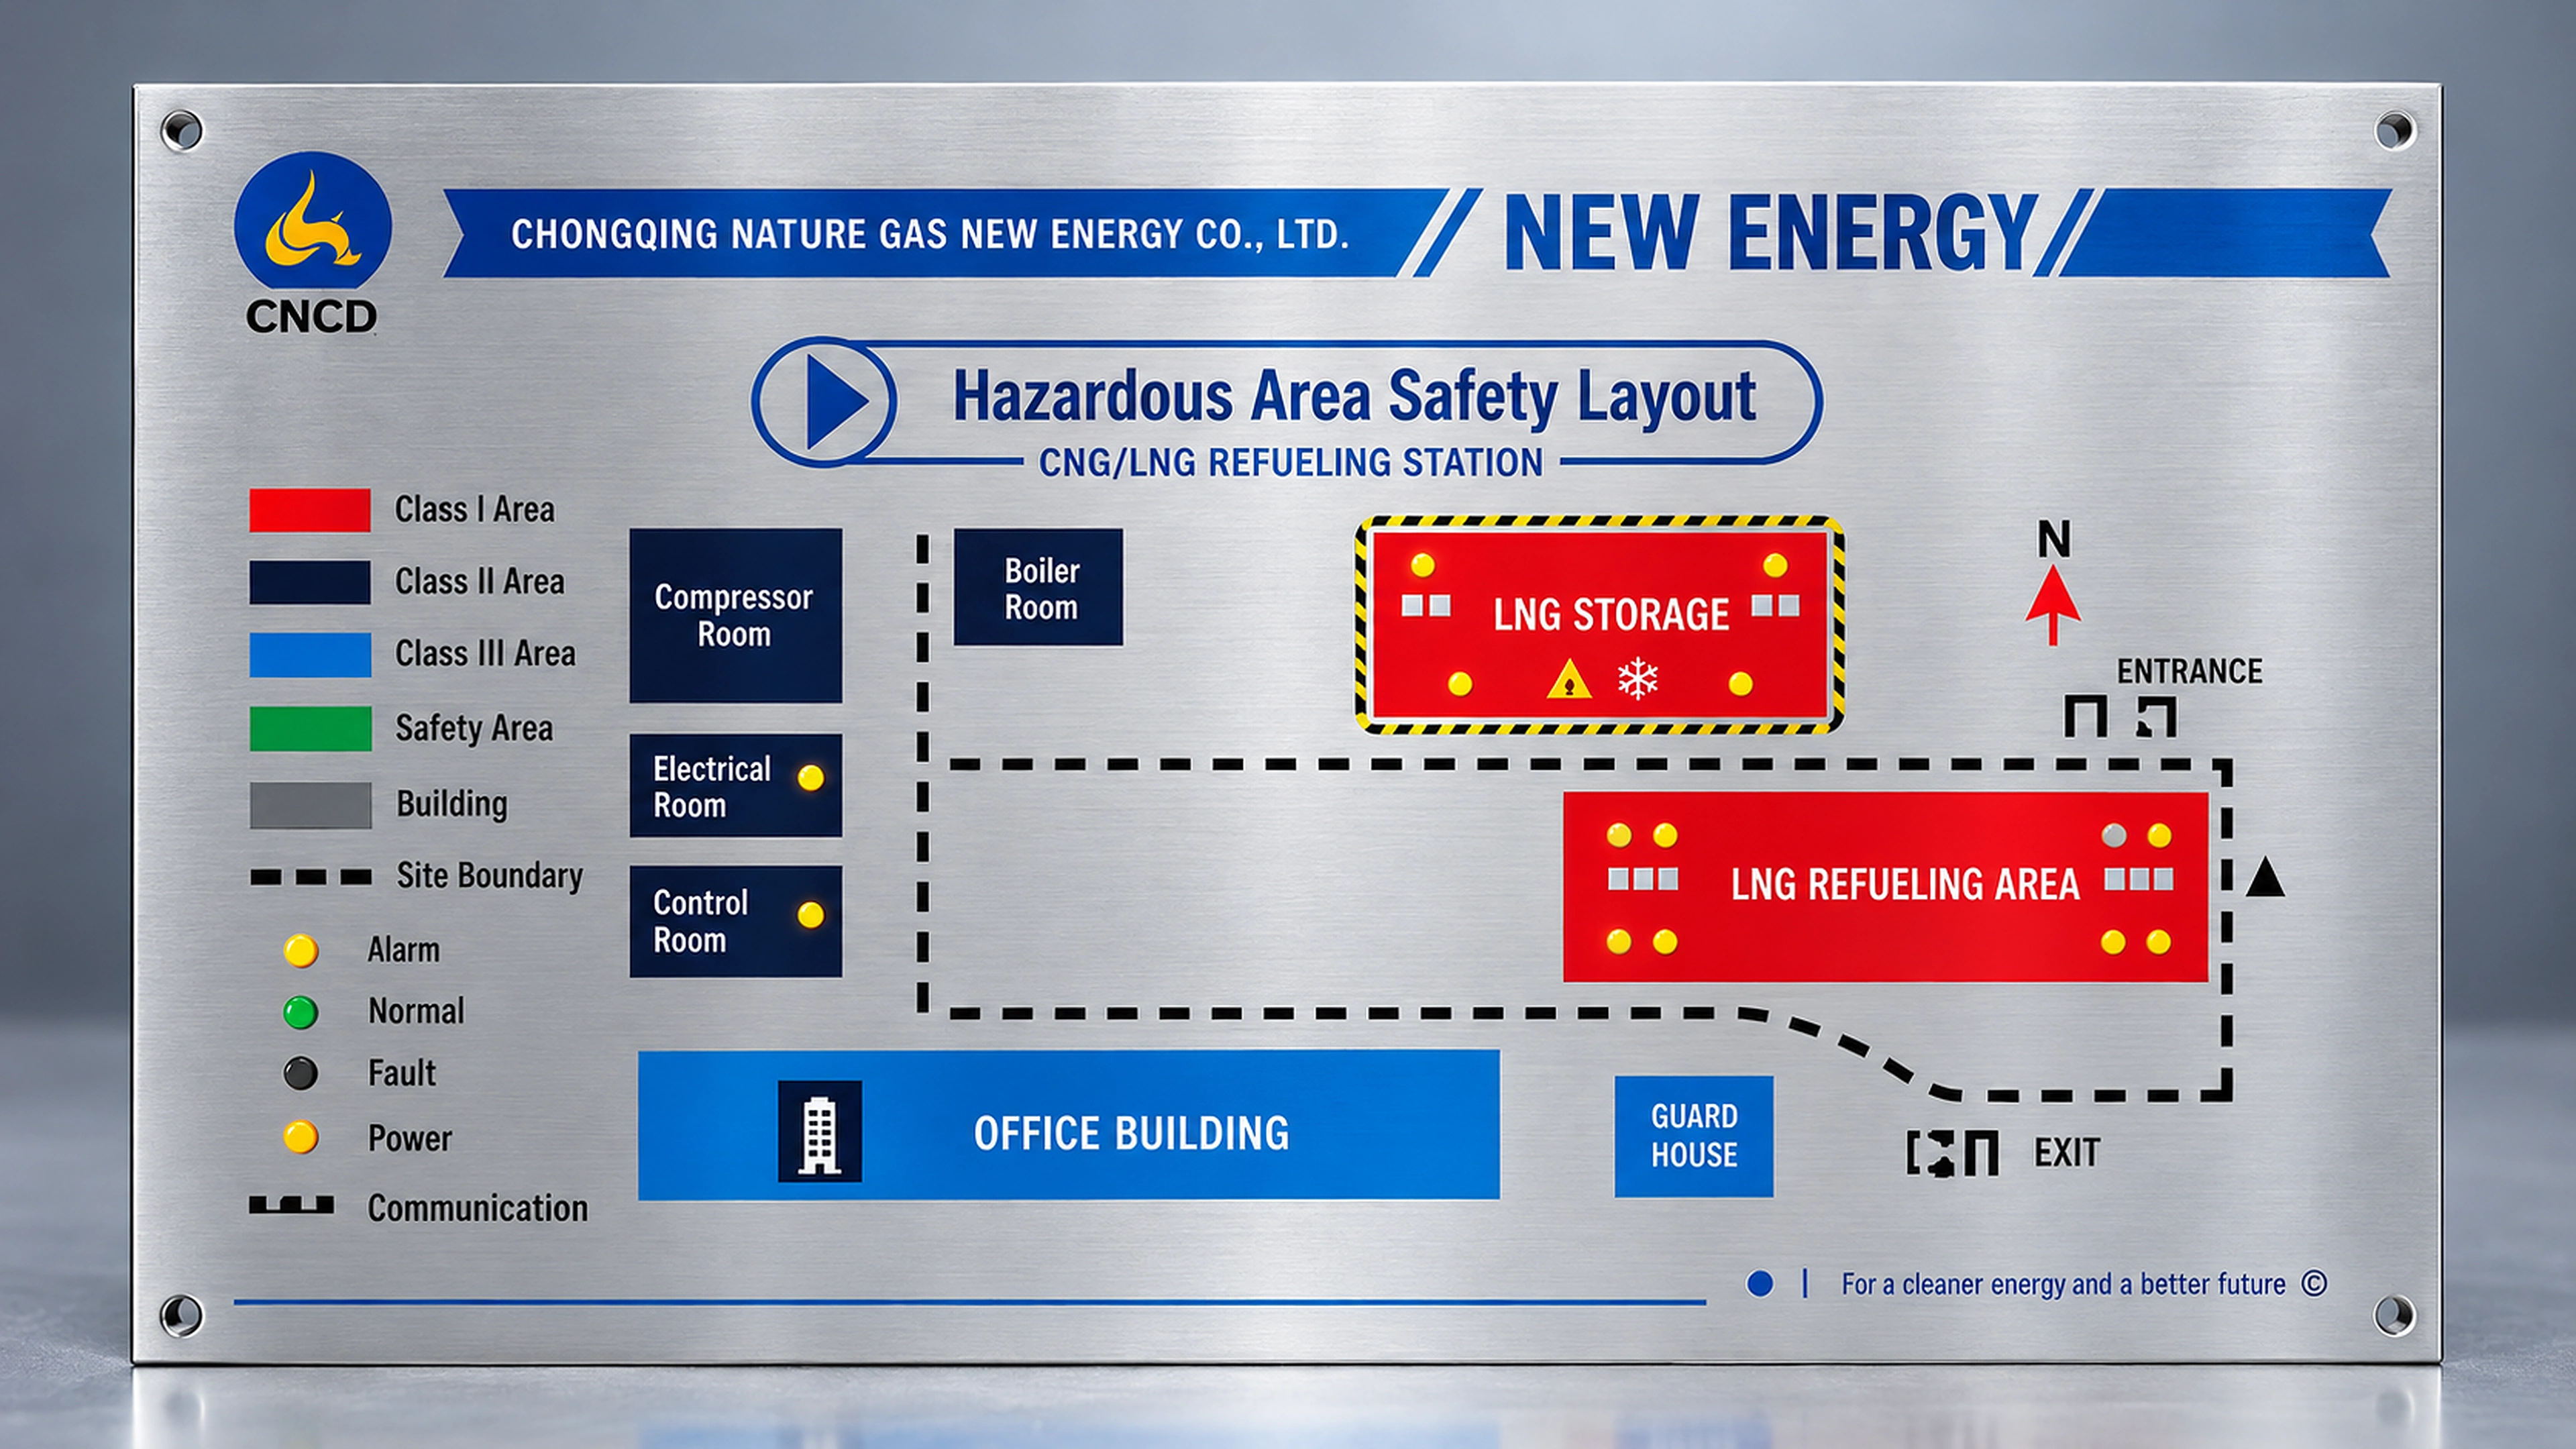
Keep the brushed surface visible around printed graphics. Suitable for brand marks, specification plates and equipment diagrams; proof colour, opacity and fine lines on the actual substrate.
Confirm vector artwork, dimensions, colour references and separations. Review small type, fine lines and reversed details.
Stainless steel, aluminium, brass and coated surfaces need compatible ink systems selected for the application.
Register the artwork and colours, control coverage and edges, and follow the selected ink system for drying or curing.
Check colour, typography, holes and finish on a physical proof. Agree adhesion and environmental checks before production.
Consider appearance, information and environment together to find the right process combination.
Natural brass shows its gold tone; nickel plating gives the brass a silver-white surface.
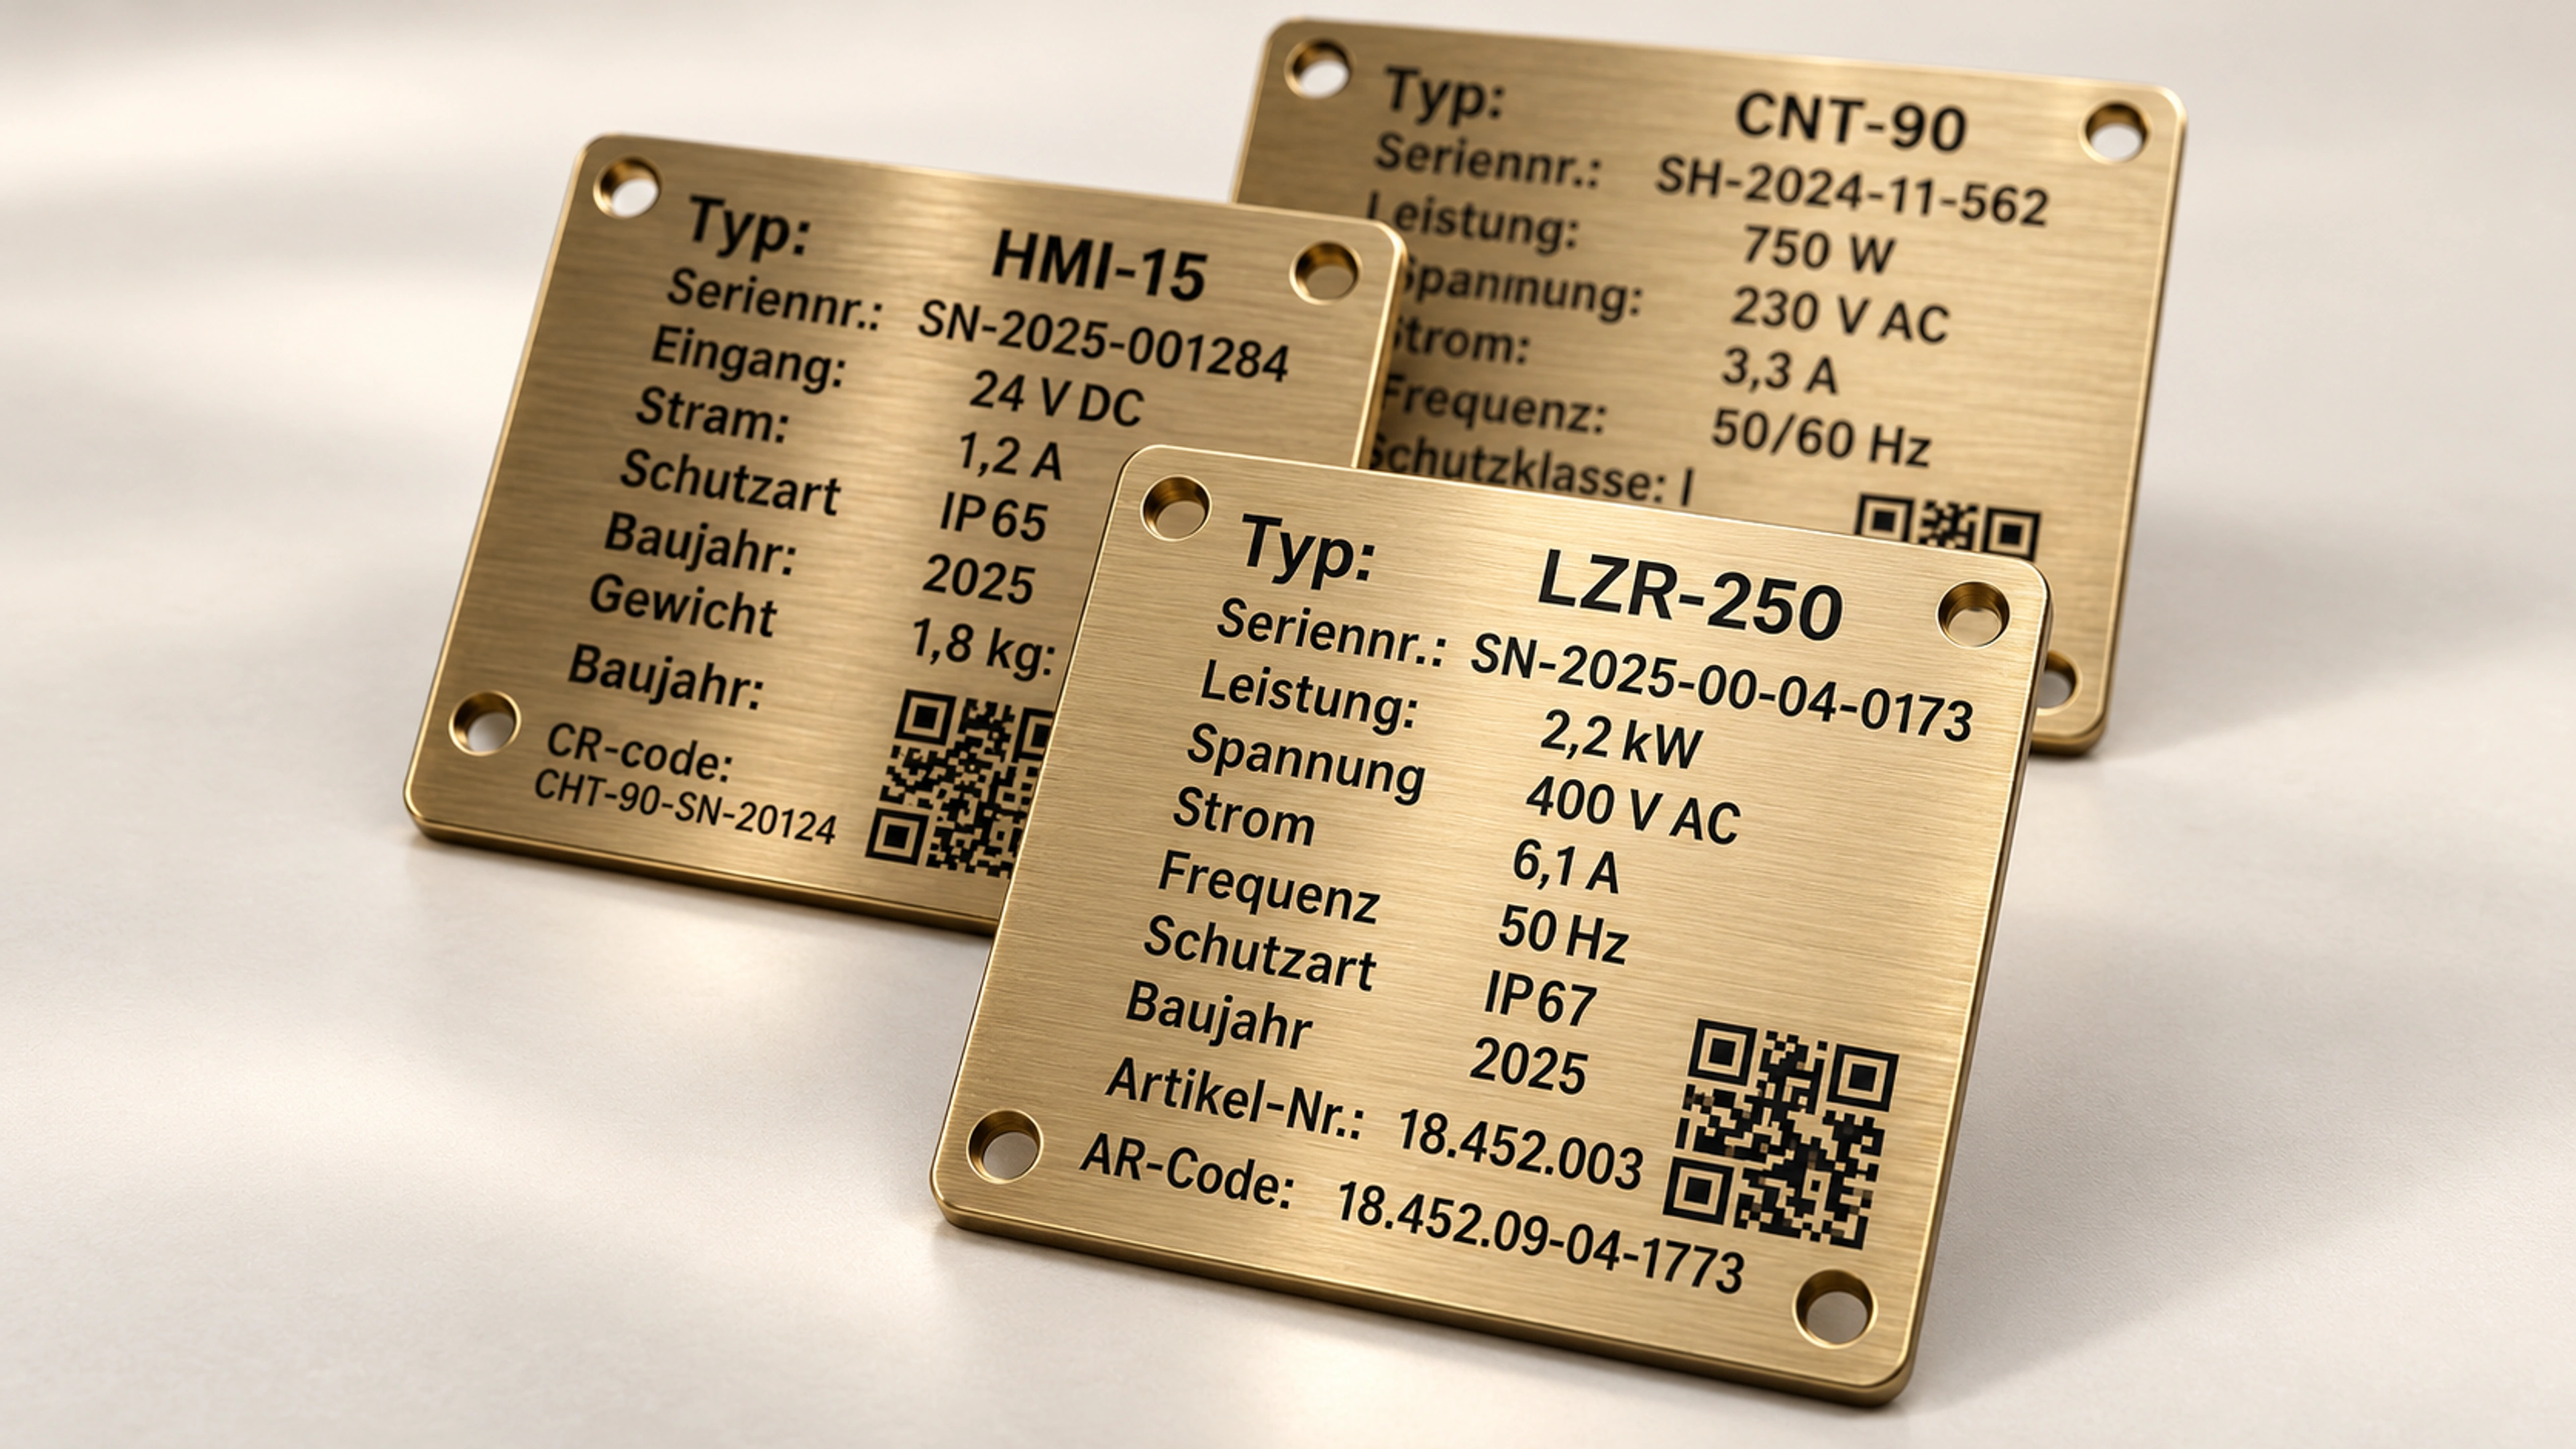
Keep the golden brass face, with etched graphics and colour filling for contrast.
A silver-white nickel face with etched graphics; the coating covers the original brass colour.
Keep the golden brass face, with etched graphics and colour filling for contrast.
A patterned resist protects selected metal while etchant removes the exposed areas. This creates recessed lettering, lines or backgrounds; colour filling can be discussed for the recesses.
Recessed artwork gives physical depth. Grain direction, recess depth and fill contrast define the appearance.
Specification plates, brand plates and identification that calls for a recessed metal finish.
Supply vector artwork, front/back views and a dimensioned outline. Separate etched, retained and colour-filled areas.
Review line width, recess depth, hole clearances and filling. Check small text and symbols on a full-size physical proof.
Use the process principles, artwork requirements and service conditions to guide selection; actual materials, dimensions, tolerances, durability and production capability require artwork, sample and supplier review.